


Table of contents


No headings in the article.
First we need to connect metamask to our frontend only then can we use solidity to connect with the frontend of the application.
In order to do that you need to read the below blog which also has a video link on how to execute the code.
how to connect metamask to your dapp
Now you can follow this video below for in-depth understanding of the wagmi and how it is used for connect the the frontend to the solidity code.
The content is just too much to explain in this short blog so I am posting this video you can check it out here I have only given what is inside the files.
After you have followed the above instruction now I am going to give you all the basic file and folder.
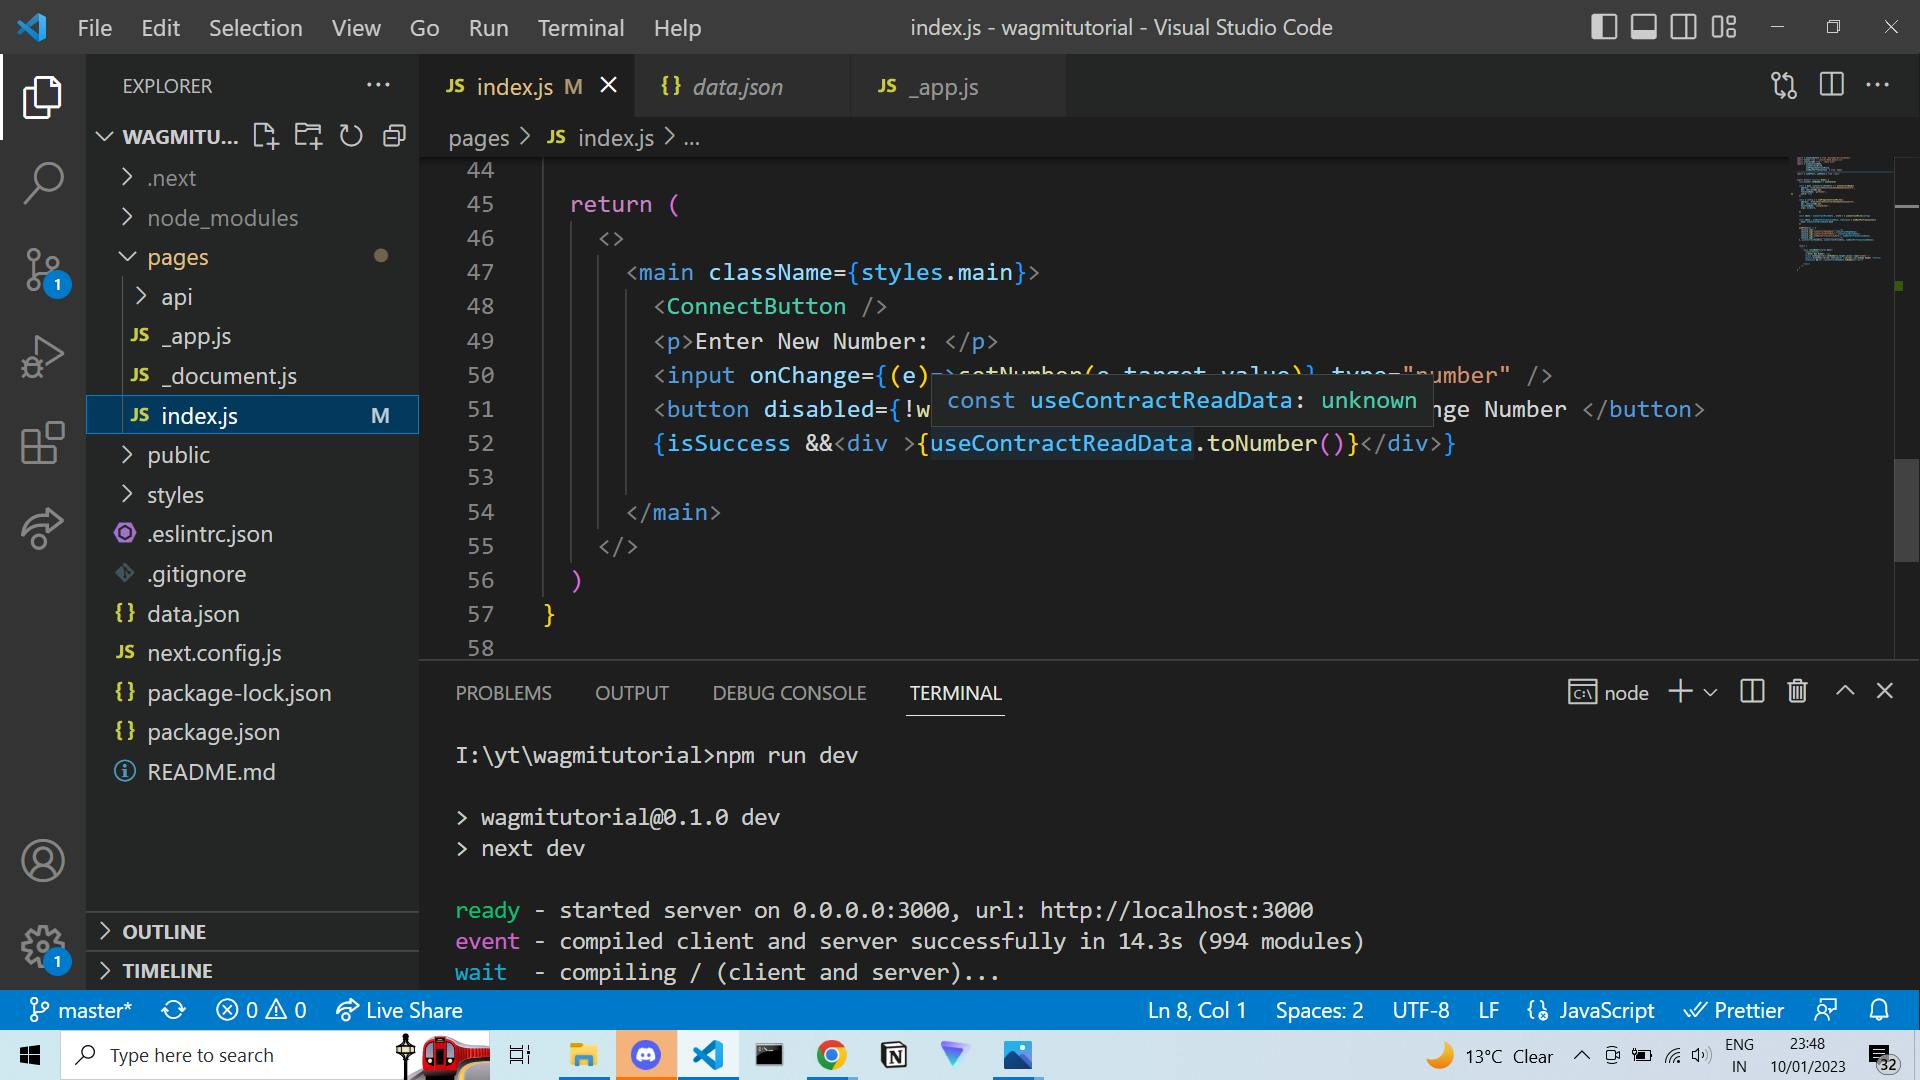
Copy the below code inside you index.js folder hello
import { ConnectButton } from '@rainbow-me/rainbowkit'
import styles from '../styles/Home.module.css'
import contractABI from "../data.json"
import { useContractRead,
         useContractWrite,
         usePrepareContractWrite,
         useWaitForTransaction  } from 'wagmi'

import { useEffect, useState } from 'react'


export default function Home() {
  const[number,setNumber] = useState(0)

  const { data :useContractReadData } = useContractRead({
    address: '0x88cA02A16E98182FCeE19d550Dbd28355ae61779',
    abi: contractABI.abi,
    functionName: 'getNumber',
    watch: true
  })

  const { config } = usePrepareContractWrite({
    address: '0x88cA02A16E98182FCeE19d550Dbd28355ae61779',
    abi: contractABI.abi,
    functionName: 'changeNumber',
    args: [number],

  })

  const {data : useContractWriteData , write } = useContractWrite(config)

  const {data : useWaitForTransactionData, isSuccess} = useWaitForTransaction({
    hash: useContractWriteData?.hash
  })

  useEffect(() => {
    console.log("__________________________");
    console.log("useContractReadData", useContractReadData);
    console.log("useContractWriteData:", useContractWriteData);
    console.log("useWaitForTransactionData:", useWaitForTransactionData);
    console.log("__________________________");
  }, [useContractReadData, useContractWriteData, useWaitForTransactionData]);


  return (
    <>
      <main className={styles.main}>
        <ConnectButton />
        <p>Enter New Number: </p>
        <input onChange={(e)=>setNumber(e.target.value)} type="number" />
        <button disabled={!write} onClick={() =>{write?.()}}>Change Number </button>
        {isSuccess &&<div >{useContractReadData.toNumber()}</div>}

      </main>
    </>
  )
}
Now paste the below code inside you _app.js folder.
import dynamic from "next/dynamic";
import '@rainbow-me/rainbowkit/styles.css';
import {
  getDefaultWallets,
  RainbowKitProvider,
} from '@rainbow-me/rainbowkit';
import { configureChains, createClient, WagmiConfig } from 'wagmi';
import { mainnet, polygon, optimism, arbitrum, polygonMumbai } from 'wagmi/chains';
import { publicProvider } from 'wagmi/providers/public';

const { chains, provider } = configureChains(
  [mainnet, polygon, optimism, arbitrum, polygonMumbai],
  [publicProvider()]
);

const { connectors } = getDefaultWallets({
  appName: 'My RainbowKit App',
  chains
});

const wagmiClient = createClient({
  autoConnect: true,
  connectors,
  provider
})

 function App({ Component, pageProps }) {
  return (
    <WagmiConfig client={wagmiClient}>
      <RainbowKitProvider chains={chains}>
       <Component {...pageProps} />
     </RainbowKitProvider>
    </WagmiConfig>
  )
}

export default dynamic (() => Promise.resolve(App), {ssr: false})
Now create a new data.json file.
{"abi" : [
    {
        "inputs": [
            {
                "internalType": "uint256",
                "name": "_newNumber",
                "type": "uint256"
            }
        ],
        "name": "changeNumber",
        "outputs": [
            {
                "internalType": "uint256",
                "name": "",
                "type": "uint256"
            }
        ],
        "stateMutability": "nonpayable",
        "type": "function"
    },
    {
        "inputs": [],
        "name": "getNumber",
        "outputs": [
            {
                "internalType": "uint256",
                "name": "",
                "type": "uint256"
            }
        ],
        "stateMutability": "view",
        "type": "function"
    }
]}
the above image is for the file structure as to where is the data.json folder.
solidity code is not required to be put in any file since we use contract abi just putting out here to check it.
 //SPDX-License-Identifier: MIT

pragma solidity 0.8.9;

contract GetData{

       uint number;


    function getNumber() public view returns(uint256){
        return number;
    }

    function changeNumber(uint256 _newNumber) public returns(uint256){

         number = _newNumber;
         return number;
    }

}